Why to pay for resurfacing? DIY bath enamel paint (not).
Welcome visitors! Here’s a first post about doing what I do and if you’re here already, then I’m happy to share some of my thoughts and experience on this blog. If you expect to find a DIY bath enamel paint here – you can close now or read why I don’t stock any like this.
Besides the somber tone of my service description and general appearance of the website, I think that you’ll pardon me if I go off the topic or sometimes show that I may have some side effects of sniffing paint all day long.
As you visited www.eagerbeaver.org.uk, you’ve noticed that I professionally restore sanitary ware…but what does it mean ‘professional’?
How to estimate the quality and choose right, when there are so many other companies, DIY kits and traders offering you the best result for little money to restore your tired and worn bathtub?
Expert in sanitary restoration
If you’ll get a business card from me, that what it says. How dare I? Well, it took me a little while to figure out how to hold a spray gun, so the results are as I would describe in terms of professionalism. I’m still more critical to my own jobs than customers, but that what pushes me forward. No, I’m not depressed or miserable, I’m in constant pursuit of achieving a perfect finish…and I know I do a great job (clients opinion proves the service quality – click here). I also know, that there will be no leprechaun jumping from the side of the rainbow saying after another ten or twenty years – and now you can call yourself ‘an expert’. Self-confidence is crucial to be successful in business, and so great customer service but most importantly the quality of the product, finish that I want to be remembered for when you use the bath that I restored for your pleasure.
…but can I do it cheaper? DIY bath enamel paint cost only £9.99
I’m glad, I don’t hear that often. It’s actually one of the signs to increase the prices, rather than go down. I do like the answer that some leading resurfacers put onto his website – ‘than which step would you like me to skip?’
Doing the spraying application in the middle of the visit is a cherry on a pie. It’s like an actor or musician (I know something about that too) when on stage, it’s just the final minutes of the long learning curve, after practice, preparation, and finding what works best for the purpose.
The technology change, chemistry evolved but if you don’t care, you won’t find any better products for your customer. I’m always checking what’s new for the sector, and what the competition is using (when possible to verify). For a long time now, I trust the Hawk Research Labs system – a brand that is among the oldest on the resurfacing market.
My equipment cost me thousands, the same as the stock of the chemicals for the next few months to resurface the baths, sinks, and showers.
Do you really believe, that paying £10-30-50 pounds for a tin of paint, little instruction maybe a pair of gloves, roller and gloves will get you to the desired finish? If the answer is yes – great, happily you are not my client.
Shortly about diy bath enamel paint kits.
Usually, you’ll get for what you pay for, and this means that it would be naive to expect the same results from DIY kits for less than a hundred pounds, as from professional resurfacing company.
Most of the DIY I go to repair after client attempts, are acrylic/epoxy cheap paint kits for either spot or entire bath refinish. Some of it is far from the desired colour match, most are cracking/lifting and flaking after a short while. A lot doesn’t contain proper instruction, almost none are safe to use without proper health and safety equipment and difficulty of the application is among the factors why it can not go right.
Product (paint) is essential, but have you wondered about an application, efforts it needs for preparation, health and safety and time you’ll spend while trying your best to get there? Buy cheap, but twice.
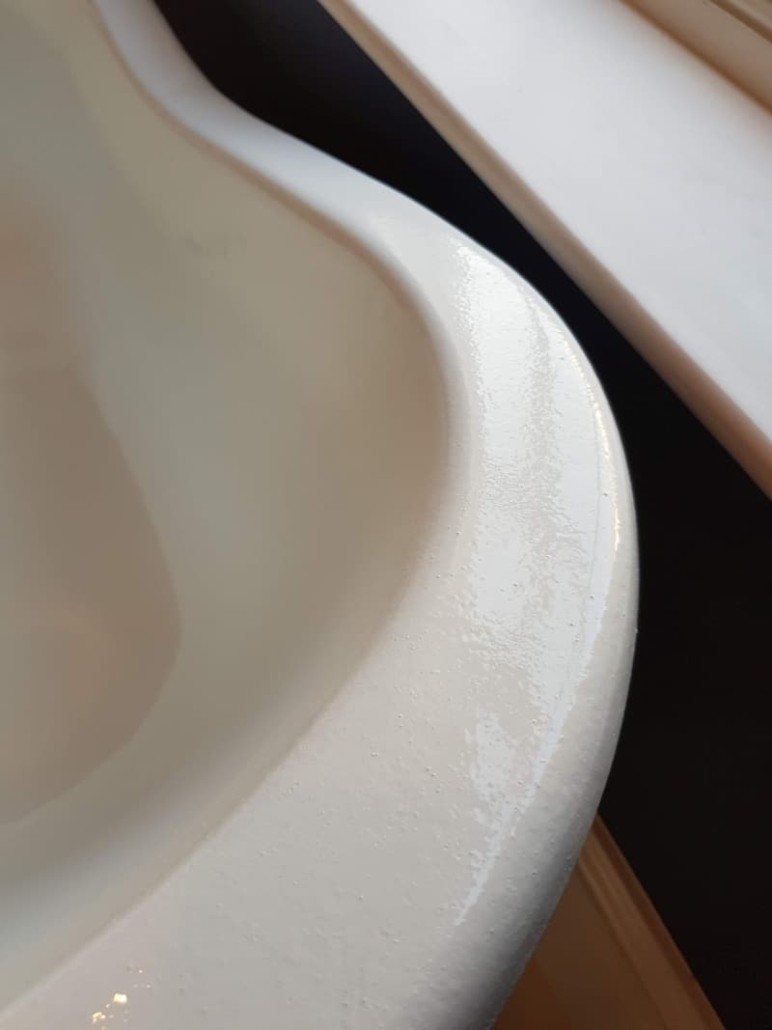
In the end, here’s what I can share with you, that will say more than 1000 words – if this finish is enough for you, go for DIY (was actually quite good comparing to some other non-saveable baths after DIY cure):
On this brush and roller painted bath, you may notice strokes and uneven pattern, dirt nibs and imperfections that you won’t find in my quality jobs. DIY kits usually dry long and the application is not in a professional manner either. I invested a lot in the system that delivers the best on-site results. It would be silly to expect the same quality from the cheap Ebay products.
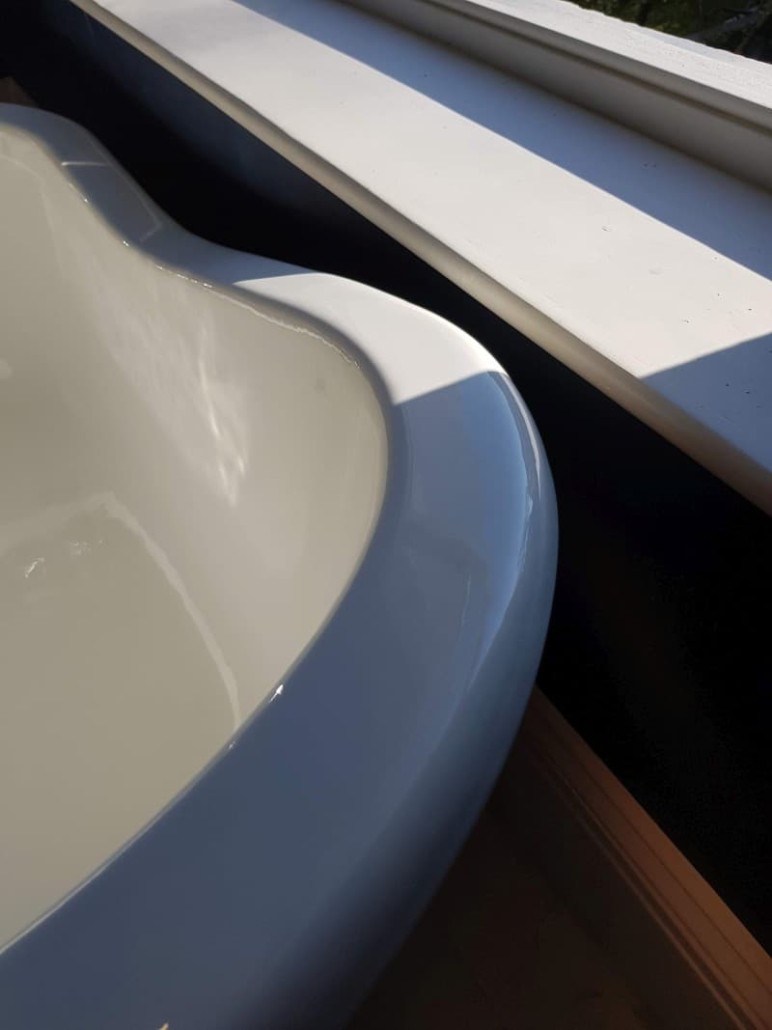
The next picture is the same bathtub, but after my application, a full gallery link when you click on a photo.
3 different cleaners, 3 separate methods to have the proper adhesion and 3 different coatings (2x undercoat and topcoat resin). Not only great looking resurfaced bath on the day, but it will last for many years.


 Photo by Paco S on Unsplash
Leave a Reply
Want to join the discussion?Feel free to contribute!