5 examples of acrylic shower tray repair and acrylic bath repair.
Scratched? Chipped? Acrylic is fairly easy to repair, see the typical problems with plastic made bathroom ware below and how it’s repaired by Eager Beaver.
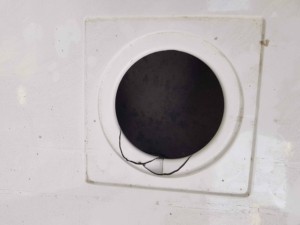
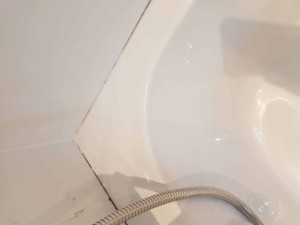
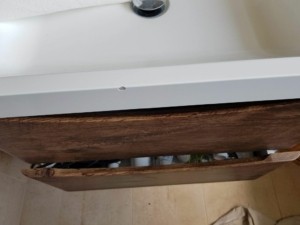
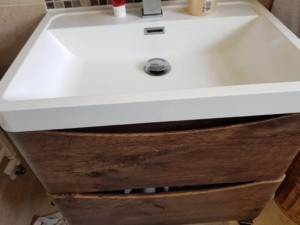
Stone resin shower base damage and a weak spot.
Acrylic shower tray repair and acrylic bath repair, especially in spot, is a cost and time-saving alternative to the replacement of a damaged item. Acrylic repairs are the least disruptive method for saving the modern materials made bathroom ware and other hard surfaces. In a previous article, I showed some examples of enamel repairs. This time as a natural extension of the topic, I would like to demonstrate the quality and comprehensive offer of my acrylic repairs.
Modern chemistry allowed us to surround ourselves with polymers. Different things from poly-bags, thru your shower tray or acrylic-made bath, are the result of a scientific achievement that adapted acrylic to the architectural sector. Easy to manufacture and store or transport for its lightweight it is also immune to some types of damage that are commonly encountered by me in the bathroom.
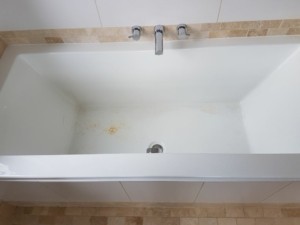
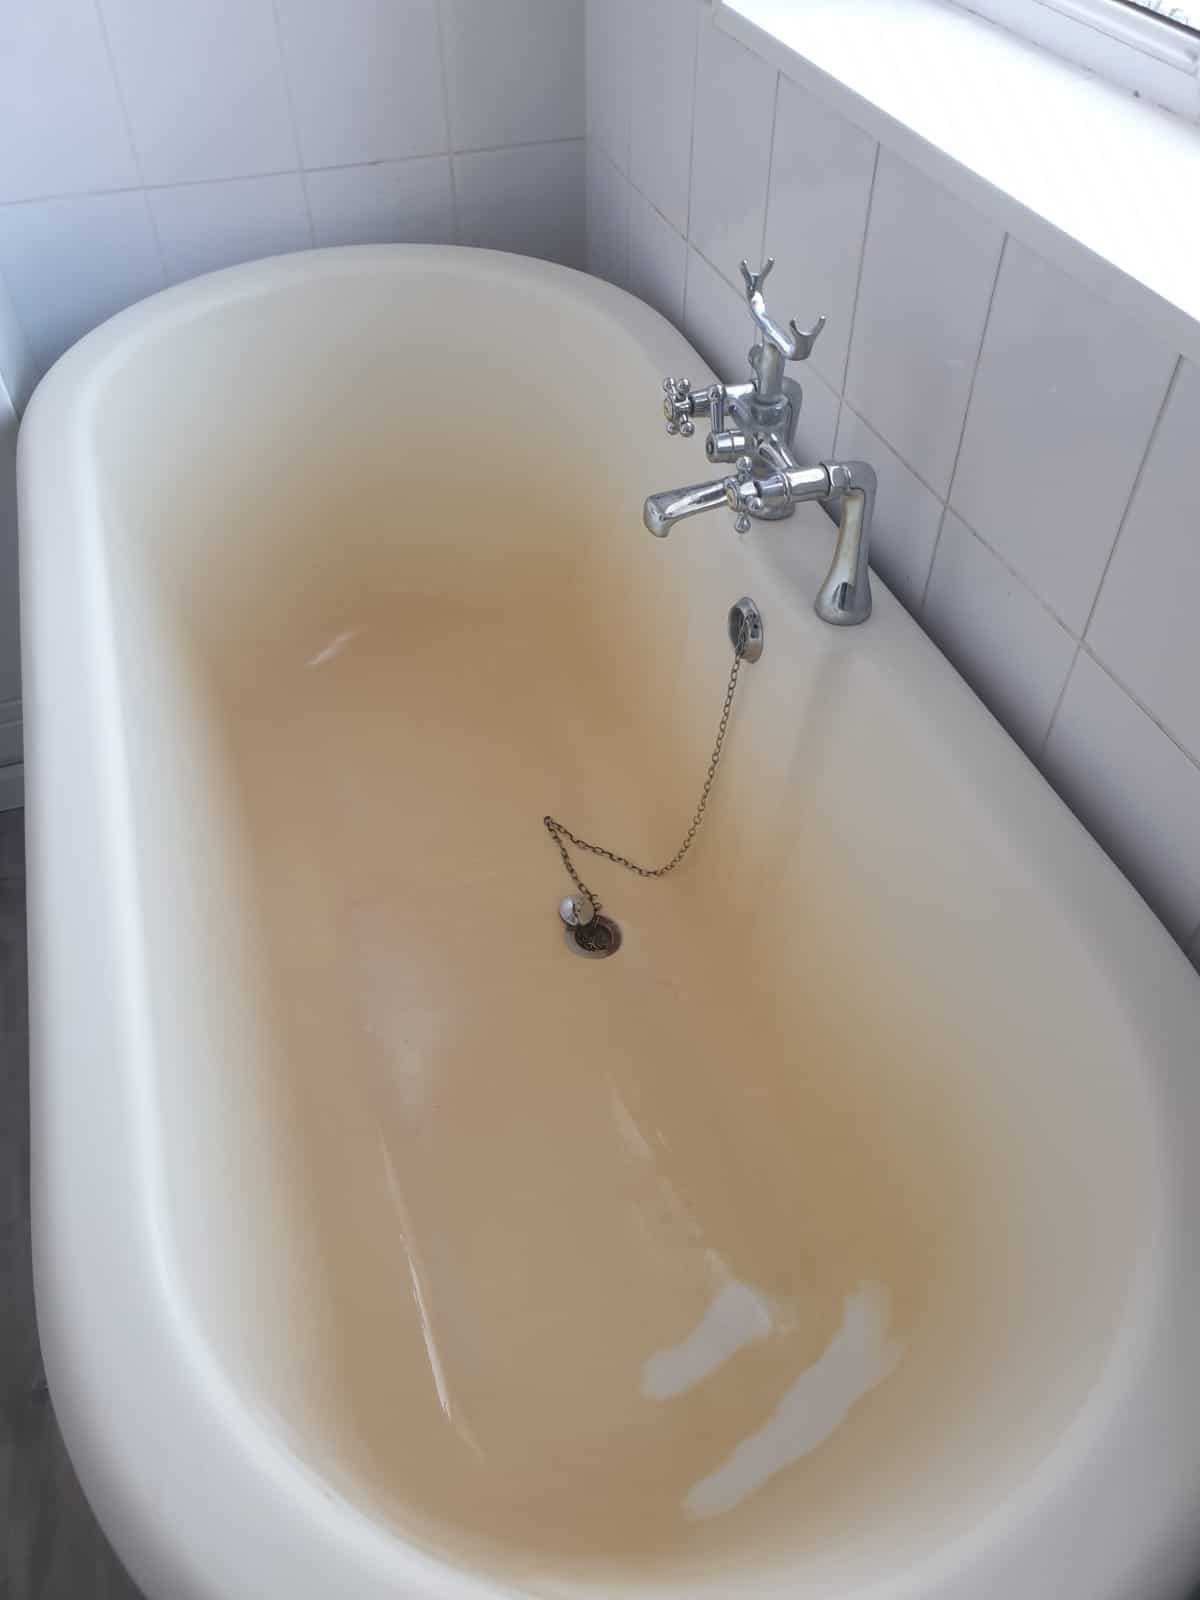
Is it a corroded bottom? Not possible on acrylic. Water discolouration that can be restored within less than 2hrs.
1. Scratched bath or scratched shower surface
A dropped tile almost at the end of work with bathroom improvement. No need to rip the bath out and start all over – call me, and see the damage disappear.
As it’s less durable than vitreous enamel, it’s very easy to scratch the modern bath or any other surface. Acrylic shower trays, sinks, or baths are not made to resist abrasion. Similar to re-enameled baths, when cleaning it’s best to use a liquid cleaner and non-abrasive sponge, microfibre, or pad.
If the scratches are shallow, the surface can be restored by me without even filling or spraying the new topcoat. Acrylic is a very soft material; it can be abraded but also polished! It’s worth mentioning – I don’t encourage you for DIY attempts, as the topcoat material is usually fragile and to break thru while trying to repair yourself is very easy.
Visit the service page for shower tray resurfacing or small repairs to a bath or shower if you have a problem with your bathroom, and book my repair now!
2. Cracked acrylic.
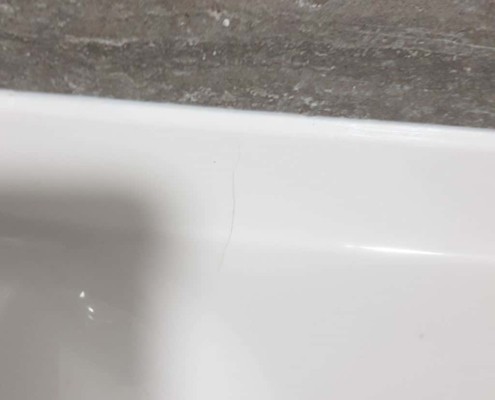
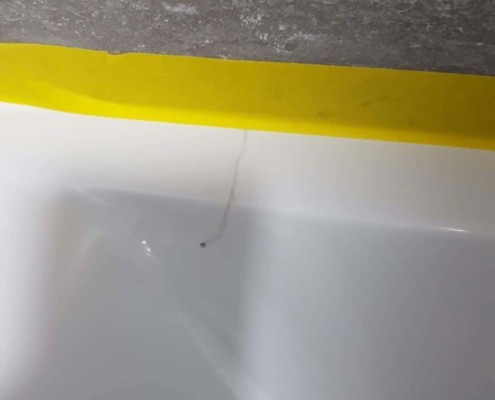
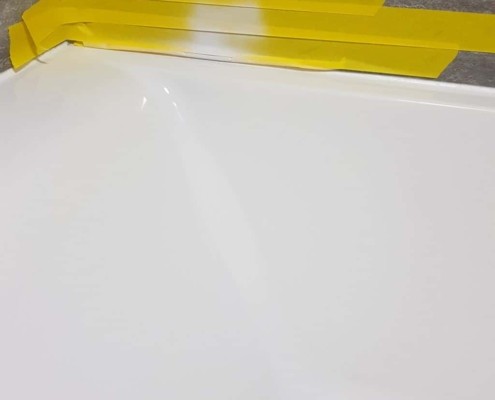
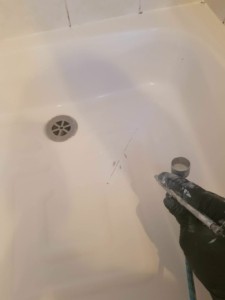
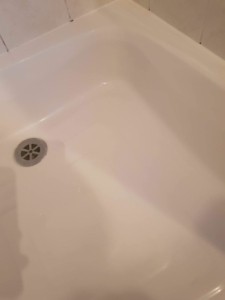
A cracked shower tray around the waste or various types of impact damage is the bread and butter for a lot of surface repair specialists. As much as I enjoy doing the big resurfacing projects, small damage, is most likely to be ‘healed’ in the spot and it’s fairly easy to repair any acrylic, resin (stone resin), PVC and other similar materials.
The exception of what can be saved is the heavy structural damage or end of life for a fibreglass shell of a bath or shower. The glass fibre/acrylic has a lifespan of up to 15-20 years for most baths or shower pans.
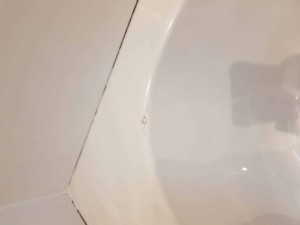
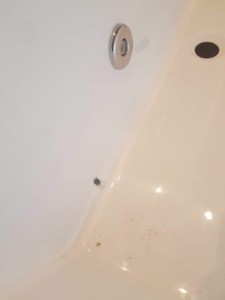
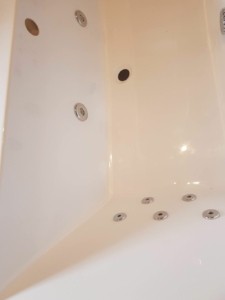
During the transport, the acrylic whirlpool bath was damaged by the support. The hole in a corner was made by a bolt that holds the adjustable feet. Next picture to see the repair results.
The hole in a corner is gone. Warrantied repair.
Several examples that I helped with, as a dropped cosmetic bottle, bath damaged in transport, and even a child that was banging the toy edge until made a hole in a rented property’s acrylic bath.
4. discolouration/residue
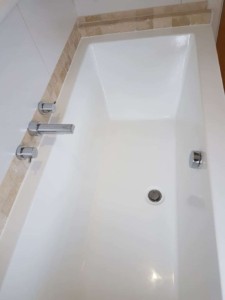
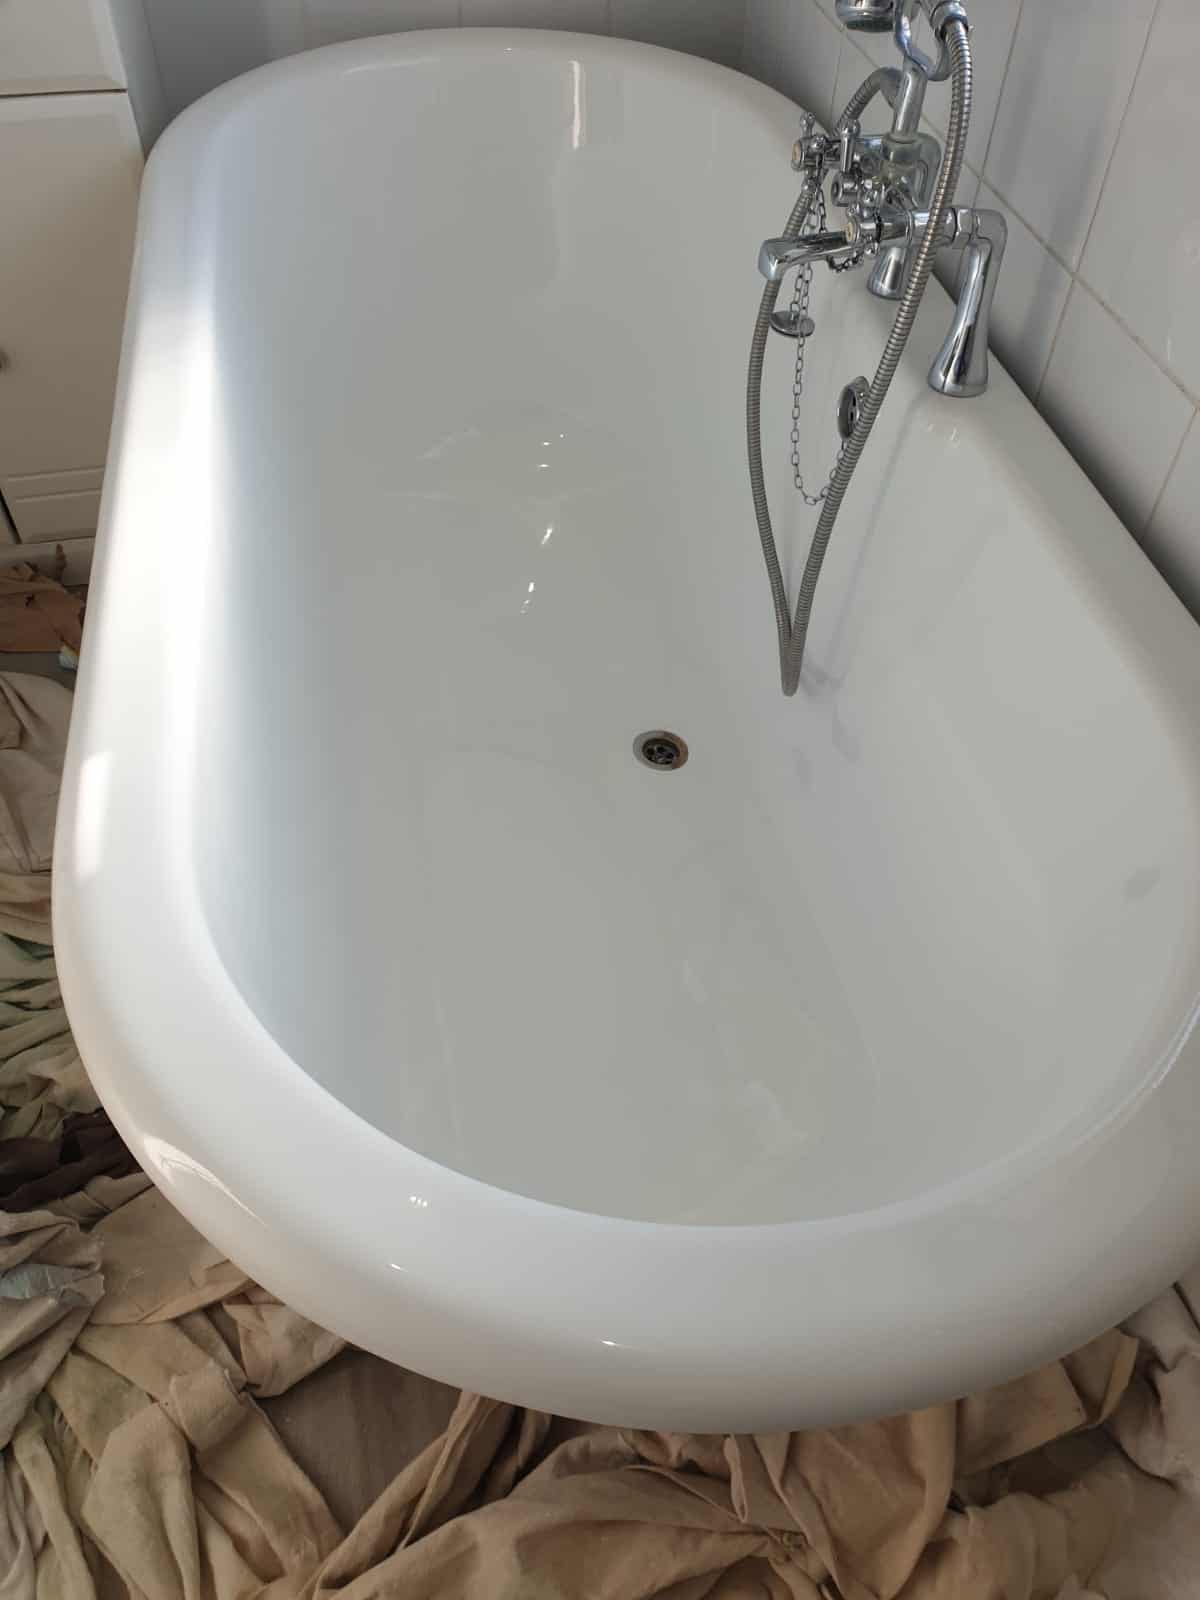
Some stains can be removed, others have to be resprayed. This is the affected acrylic modern rolltop bath after resurfacing near London.
Fairly easy restoration in some and a full resurfacing in others. Acrylic can be stained or react with some cleaners. I even did restore the surface after aromatherapy oils. In most cases, cleaning and repolishing the spillage might be enough, but sometimes it got to the acrylic deeply and the only way to repair is to cover the damage with a new topcoat.
5. Chemical reaction
Paint stripper is reacting with acrylic surfaces, deeply damaging the surface and causing it almost impossible to repair.
Important here – don’t use any type of paint remover on top of acrylic baths. As much as the paint stripper will not react with the metal baths surface, it will cause a non-reversible disaster to an acrylic shower or bath. I met clients that tried to paint the bath themselves and after having the dissatisfying results, used a paint remover. As the first step creates a little more work for a specialist before doing the repair, using a stripper may cause permanent damage and a plastic bath will need a replacement.
The client used a DIY kit followed by a paint stripper once not happy with the results. As the first step was reversible, the second created an unstable surface and qualified the bath for replacement.

 Unsplash
 Photo by
Nice article, These tips are really awesome, really like your post.
Everything is so much clearer with your tips in the article. keep going.
Many thanks for sharing this nice site.
Like!! I blog frequently and I really thank you for your content. The article has truly peaked my interest.